 | |
| Monarch Butterfly nails |
 |
| Pure Ice Black Rage, Super Star, Sally Hansen Xtreme Wear Hot Magenta, Art Deco Black |
| |
| Monarch Butterfly nails |
|
| Pure Ice Black Rage, Super Star, Sally Hansen Xtreme Wear Hot Magenta, Art Deco Black |
 |
| Inspired by Converse Shoes |
 |
| Wet N Wild Everybody Loves Redmond, Sally Hansen Xtreme Wear Crushed, Pure Ice Excuse Me, Sally Hansen Xtreme Wear Blue Me Away, Wet N Wild Wild Shine Eggplant Frost, Pure Ice Super Star, Sally Hansen art pens |
 |
| Fun with Dots! |
 |
| Nicole by OPI The Right Thing, My Lifesaver, Pure Ice Super Star, Mash dotting tool |
 |
| The holiday Braid. |
 |
| Wet N Wild Fast Dry Silvivor, Pure Ice Super Star, Pure Ice French Kiss |
 |
| Fun With Dots, China Glaze Purple Panic (Neon) |
 |
| China Glaze Purple Panic (Neon), Sally Hansen in white and black |
 |
| Zebra stripes gradient |
 |
| Wet n Wild Fast Dry Silvivor, Gray's Anatomy, Wild Shine in Eggplant Frost, Art Deco in black |
 |
| The Funky French Freestyle |
 |
| Art Deco white, Sephora by OPI Hippo To Be Square, Pure Ice Super Star and Pure Ice Oh Baby. |
 |
| The Funky French Freestyle |
 |
| Wild Shine Red Red, Art Deco in silver glitter and Bright Green and Pure Ice Super Star |
 |
| The checkered manicure. Never mind the horrible pain smudge on my pinky |
 |
| Tape, Wet N Wild Fast Dry in Gray's Anatomy and Pure Ice in Black Rage |
 | |
| The Holiday Patchwork Manicure |
 |
| Wet N Wild Fast Dry in Everybody Loves Redmond, LA Color Craze, Pure Ice Super Star and tape! |

 |
| LA Color Craze (found at any Dollar store $1) and Confetti My Favorite Martian (from CVS for $2) |
 |
| Holiday half moon manicure |
 |
| Reinforcement labels, Confetti Red Carpet, Confetti My Favorite Martian and Art Deco silver glitter |
 | ||||
| Pure Ice French Kiss, Pure Ice Oh Baby and Sally Hansen Nail Art Pen |


 |
| China Glaze For Audrey, Sally Hansen Nail Art Pen |

 |
| Pure Ice Kiss Me Here, L.A. Colors Art Deco and Sally Hansen Nail Art Pen. |

 |
| Wet N' Wild Wild Shine Lavender Creme and no name crackle |


 |
| Right to left: Wet n' Wild Wild Shine in Eggplant Frost and Caribbean Frost. A gnarly cosmetic sponge. |
 |
| Sure, it could have been blended better, but from a distance, this is a cool mani. |
 |
| Left: Pure Ice Black rage, Wet & Wild Wild Shine Red Red, cheap tape |
 |
| The Funky French. I have the diagonals going the other way on my right hand. |
 | |
| L.A. Colors Nail Lacquer with Hardener in Cotton Candy, Pure Ice Spit Fire and Pure Ice Super Star (and some no name tape) |

 | ||
| From left to right: Pure Ice French Kiss, Cheatin and Strapless |
 | |||
| I totally bought cuticle cream today--time to get that mess cleaned up! |
 | |
| The Reds |
 |
| The massive collection of pinks |
 |
| 2 Oranges? And one I bought today! |
 | |
| Yellows. |
 | |
| Greens |
 |
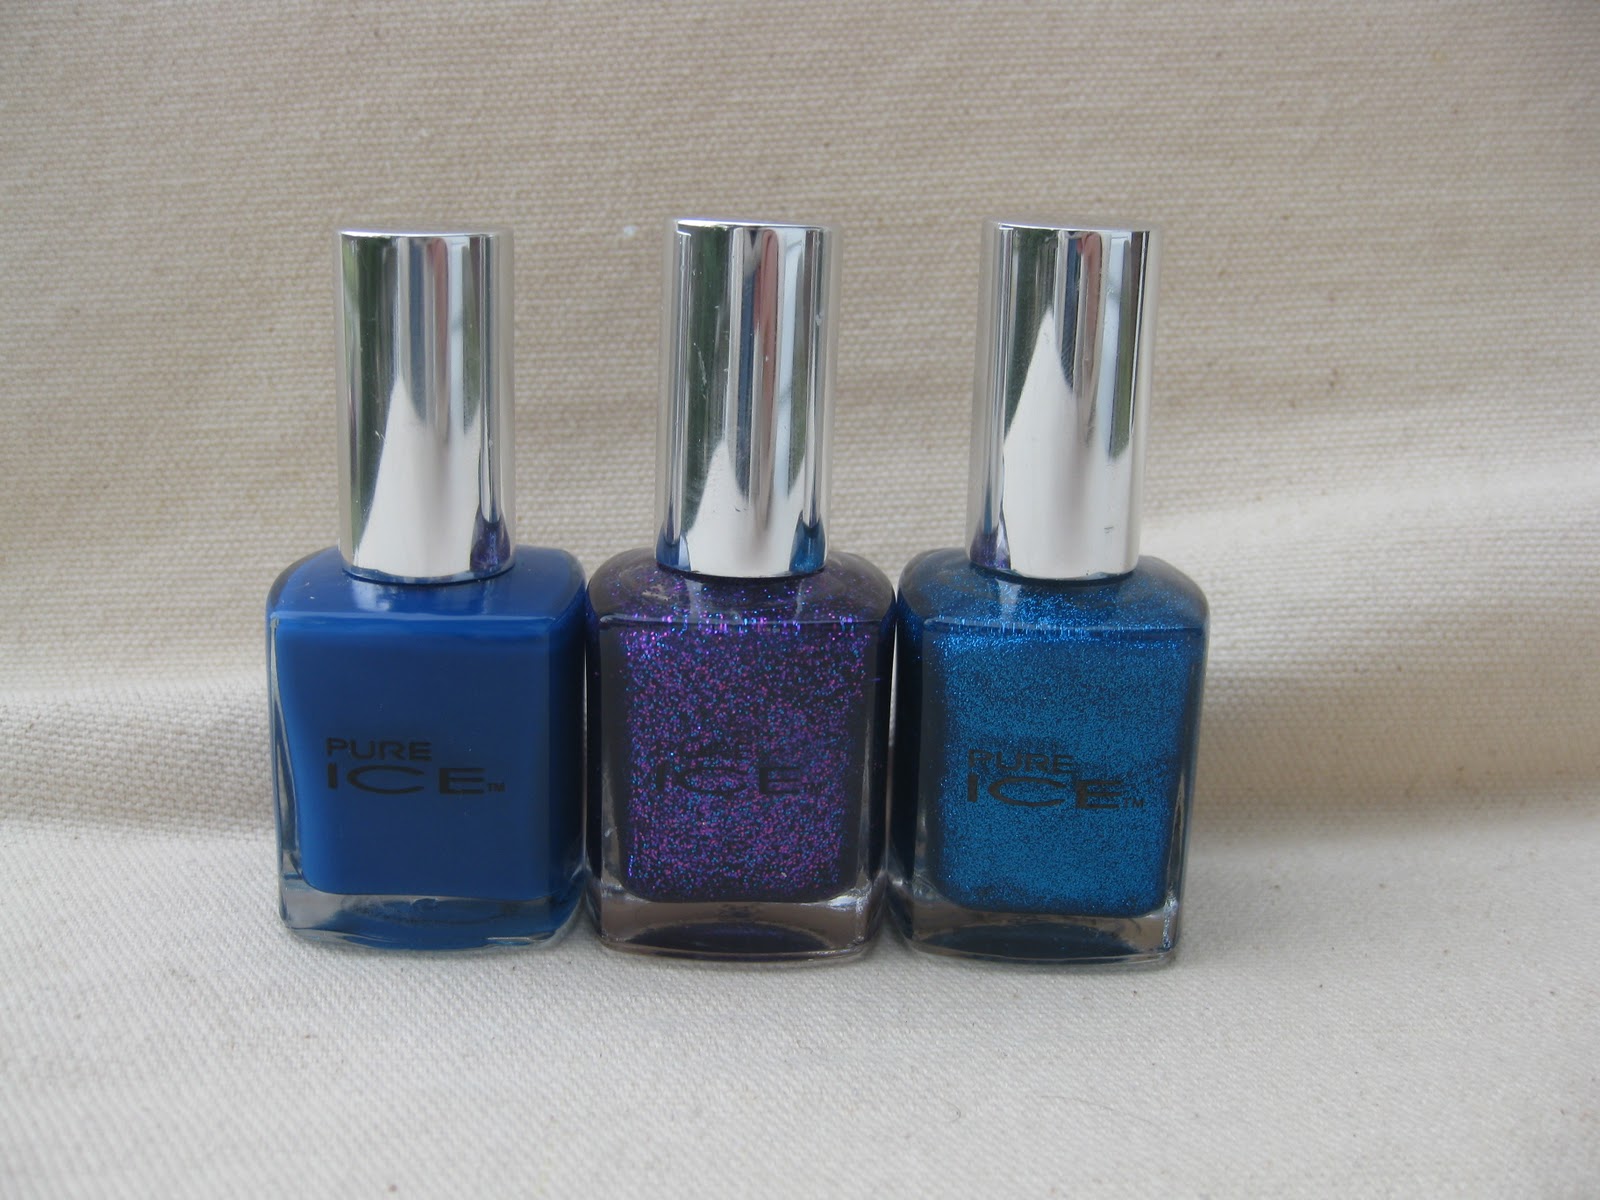
| Many, many blues |
 |
| It may LOOK like a lot of purples--but a few are just no good. |
 |
| Pretty Duo chromes |
 |
| ONE brown? And black and a black crackle. I also have a black Art Deco skinny tip. |
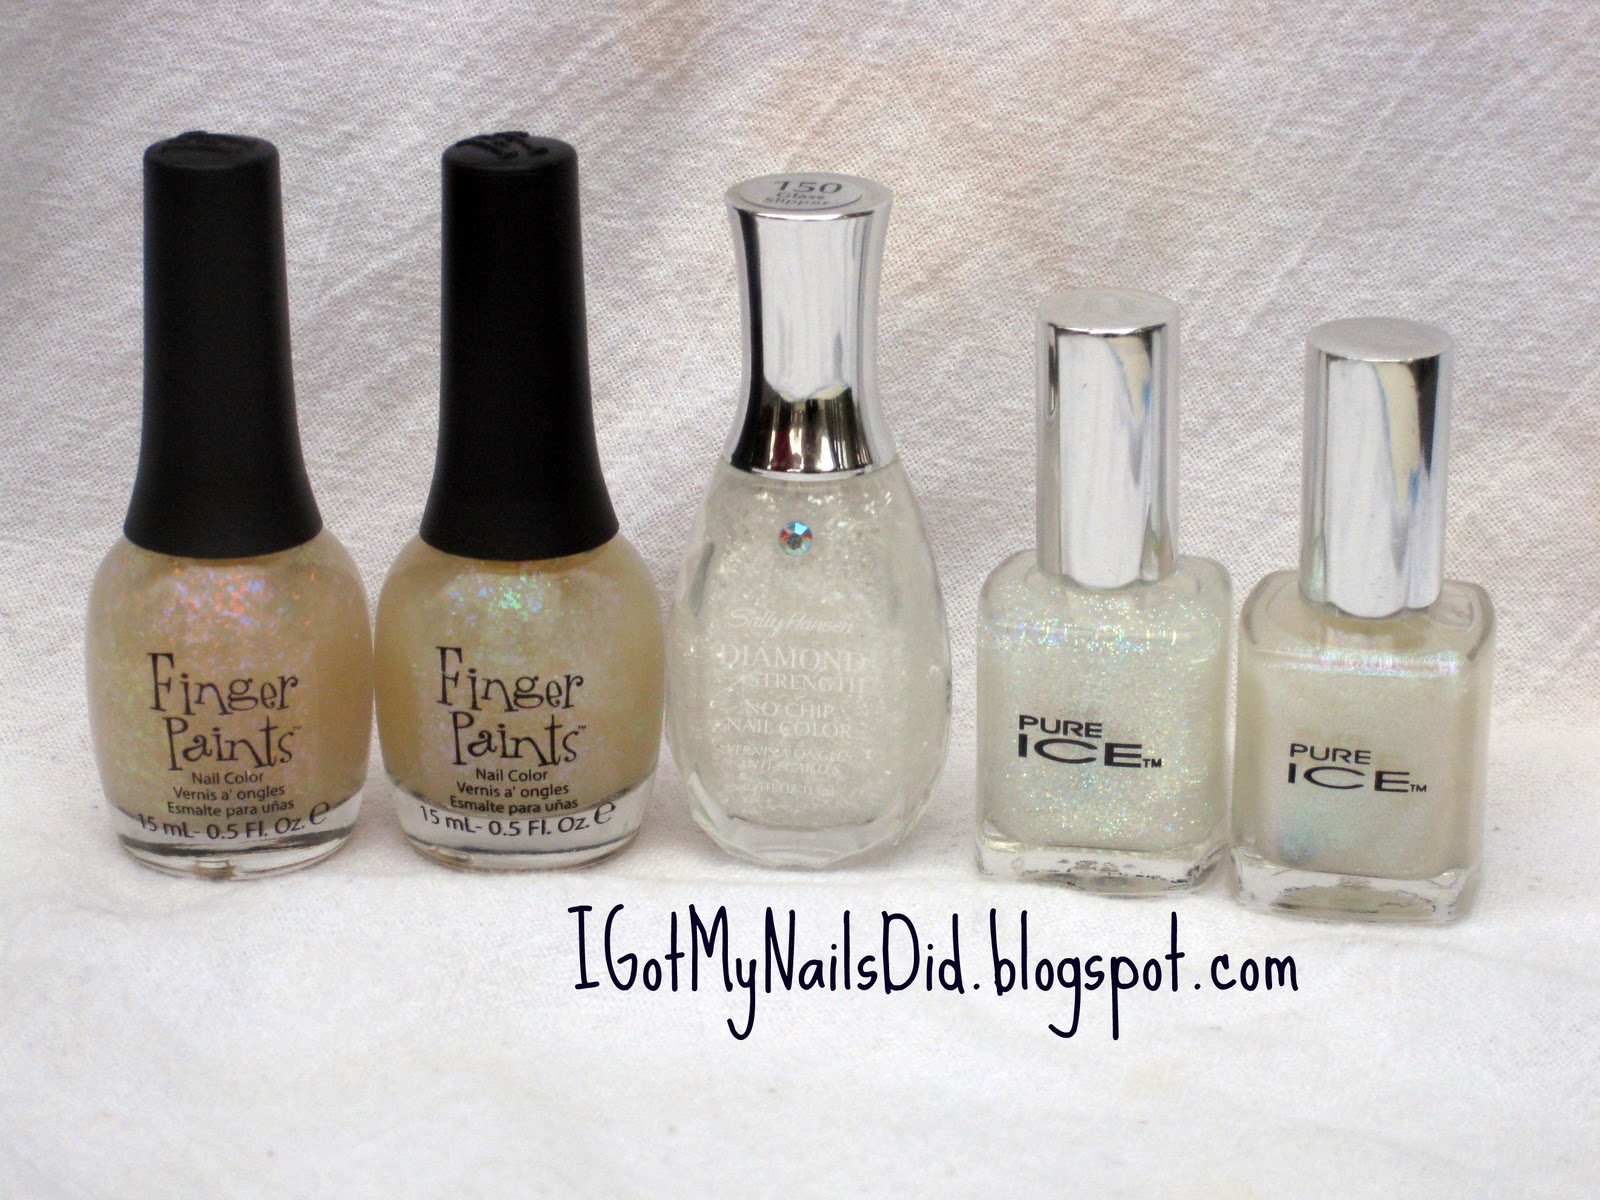 | |
| OoOoOooh, iridescent and flakies. |
 |
| White and off white. I need more neutrals! |